Building Our First App In Android Studio
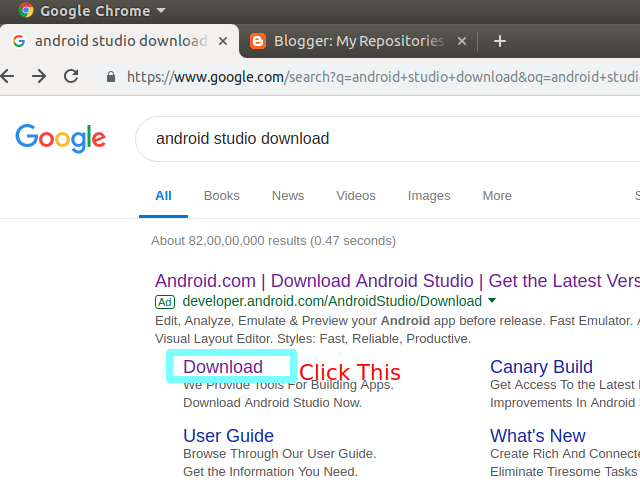
1. Open Android Studio. If you haven't downloaded it then refer to this post.
5. Select empty activity and click next.
6. Now give a name to your "activityname" or leave it as it is. (An activity is an application component that provides a screen with which users can interact) . When you click on next you will see that in lowermost section build sync will be going on and when it gets completed you will see the following window.
7. Now click on run option (The side inverted green triangle is the run option).
Now we have two options. Either to run our app in
We will do both.
Now when you click run then you will see the following window.
8. Click on "Create New Virtual Device" and then you will encounter the following window
9. Now click next any download any package and will see your app run on Virtual Device.
10. Now we will run the app in our phone .To do so we have to enable developer options.
13. Now plug your phone to your system via USB and then click on run and you will see the following window in which your device will be listed.

15. Click Install and you will see the following window
You just created an android app without any programming. You have just become a developer with some more things to learn. Well, that applies to everyone.
2. Now Click on "Start a new Android Studio Project" option and you will get the following window.
3. Fill the application name and write any company domain even if doesn't exist and then if you want to change the project destination folder, then change it through "project location" option and then click on next and you will encounter following window.
4. Click on phone and tablet and select the API level (It is basically Android version, API stands for Android Programming Interface) and then click next and you will see the following window
5. Select empty activity and click next.
6. Now give a name to your "activityname" or leave it as it is. (An activity is an application component that provides a screen with which users can interact) . When you click on next you will see that in lowermost section build sync will be going on and when it gets completed you will see the following window.
7. Now click on run option (The side inverted green triangle is the run option).
Now we have two options. Either to run our app in
- Virtual Device
- Our Phone
We will do both.
Now when you click run then you will see the following window.
8. Click on "Create New Virtual Device" and then you will encounter the following window
9. Now click next any download any package and will see your app run on Virtual Device.
10. Now we will run the app in our phone .To do so we have to enable developer options.
11. Go to settings of your phone and then select the option "About Phone" and then click on Build No. 7 times and then you will see that your developer mode is enabled.(For Xiaomi users miui version is the build no )
12. You can see the developer options in additional settings
13. Now plug your phone to your system via USB and then click on run and you will see the following window in which your device will be listed.

14. Now Select your device and then this message will pop up on your device
15. Click Install and you will see the following window
You just created an android app without any programming. You have just become a developer with some more things to learn. Well, that applies to everyone.


Comments
Post a Comment